It’s been a while since I’ve written a long-form post so I thought I’d do a home-brew-kink instructional for a change.
I’d wanted to create an anatomical cock sheath for a while as all the ones available on the market are either a pain to get on, look horrible or are simply the wrong size (ahem). So this post it all about making a plaster mould and then dip forming the finished latex sheath, but it could equally apply to custom gloves, socks or anything a rubberist wants to perfectly conform to their anatomy :)
Step 1: making the negative
You want to make sure that you’re completely hairless otherwise this is going to be painful. To cast myself I used about 1kg of alginate – you can buy it from lots of places quite cheaply – made up as per its instructions. Most alginates change colour to indicate once they’ve set and the warmer the water that you use, the faster the set. I ended up pouring the alginate into a big mixing bowl and humping it…
Step 2: making the positive
Once you’ve extracted yourself from the alginate and it’s had a little time to dry and set up fully (but only half an hour or so) you can then mix up some fine plaster of paris and pour it into the negative. You might want to consider building out around the top of the mould with some plastic to extend things a bit so you can trim it up neater later, but up to you. The plaster takes some time to go off, but once it has you can then cut it free of the alginate and you should be left with a plaster representation of your bits. You can make any corrections with sandpaper and wood filler if needed.
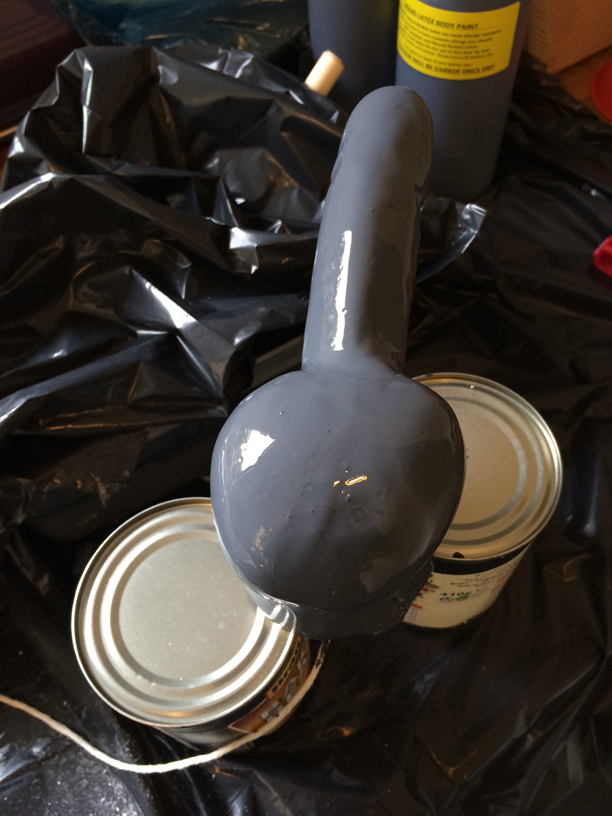
Step 3: dip moulding
I used liquid latex, dipped a number of times until it reached the desired thickness. Thicker is more resilient but stiffer so try a few different options to find the one you like, but I think 3-5 dips is about right. As you’re dipping you’ll need quite large volume of liquid latex, although most of it will just get reused. ebay is good for cheap liquid latex by the litre, avoid the stuff in jars from fetish shops due to the cost.
I fixed a little eye hook and string onto the base of my mould to help with dipping it in and out. Make sure you don’t seal the plaster as the liquid latex sets through water absorption.
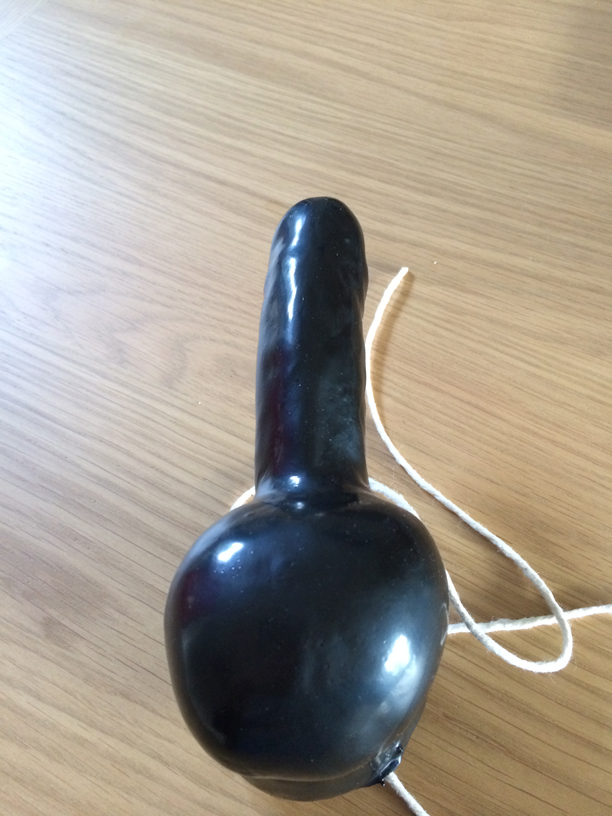
Each layer takes a while to go off so don’t be tempted to use hot air to speed things up, let it drip dry to avoid any lumps. The colour will darken once it’s set. Repeat, building up the layers as you want.
Once you’re done cover the whole thing in a good layer of silicone lube to stop the latex sticking to itself and de-moud.